Friday, March 21, 2014

Flash Sale Friday: It's Spring Outside

It's finally back...


Each week, I will be featuring some of the week's best picks from my favorite Flash Sale sites and creating a room inspiration board for all of you to enjoy!  If you have a room that needs decorating and you are looking for some inspiration, feel free to email me what you are looking for, and I'll see what I can come up with for you, and you will be featured in a future Flash Sale Friday post!

If you would like to become a member to one of the sites featured in this Flash Sale Friday post, feel free to create an account from the links I have provided below.

Fab

In honor of it finally being Spring around here, at least according to the calendar, I've compiled some bright, fun pieces for your outdoor space. If you're anything like me, you can't wait to have a nice cold drink outside, hearing the birds chirp and feeling the warm sun against your skin. So, while this may be just a bit of a tease since we still have a ways to go before that can happen without a winter jacket, I just couldn't stand the dreariness any longer.


All the bright colors, and the wicker furniture - I love it all! Especially that hammock! Wouldn't it be awesome to be able to swing in that in your backyard?

What's your favorite piece? Do you have outdoor furniture you can't wait to put outside and enjoy?

Please Note: All of the images in this post have been used with permission. Images were not modified or altered to fit in this inspiration board. Flash Sale invitation links may provide me with rewards if items are purchased by a new member.

Wednesday, March 19, 2014

Sanding Indoors Makes a Mess

Whoa there, it's been a while, huh? I've kind of fallen off the wagon with blogging, and more specifically, Flash Sale Friday, because things have been so much busier than normal and I just haven't had the time! I'm really hoping to jump back on, so look for one at the end of the week!

In the meantime, I've been up to a lot. I have started to refinish some of the furniture for the house, and am still constantly looking for other pieces to add to our decor. I knew that I was taking a risk in sanding down the furniture in the basement, but it's just been too cold outside to do this in the garage or the driveway.


What I didn't realize was that even though my random orbital sander has a dust bag attached that it wouldn't catch everything. So, my basement ended up covered in a sheet of sawdust. And I'm talking like 1/8" of sawdust, everywhere, including on the top of the laundry detergent bottles and covering the hot water tank. Everywhere.

Prior to this, I was using our house vacuum to clean things up because they weren't that messy, but I just didn't think that my house vacuum would like that dust all that much, so I bought a Wet/Dry Vacuum, and boy am I glad that I did. The basement was a mess, and this thing worked soooo well, thankfully.


And now that the basement is clean again, I've started to actually paint and stain the furniture. It's a lengthy process, especially when I only have time to work on the projects when I get home from work.


All set up for painting, this is the two-piece hutch that will be going in the craft room. Along the right side of the picture you can start to see the drawers of the bureau, which will be refinished for the guest bedroom.  Once these two pieces are done, I'll start on my favorite item - the card catalog! One thing I have learned from this process is that I will be making a sanding station in the basement, cordoned off with some drop cloths, that way the entire basement doesn't end up in another layer of dust!

Live and learn, right?

What have you been up to recently? Any plans to refinish furniture?

Monday, March 10, 2014

Laundry Procrastination

I've never been one to have a laundry routine. I don't do laundry every day, nor every week. I simply go without until I literally can't anymore. Dylan and I have the ability to literally go over two months without needing to do laundry. Does that happen regularly? No, but it did once, actually.

When my parents moved out, they took their washing machine and dryer with them, since the house we bought didn't have any. I made sure to take advantage of still having a washer and dryer before they moved out, and did a few loads of laundry just before their moving day. When they moved out in the beginning of December, though, we kicked ourselves into survival mode. With the purchase of furniture and a new TV on the horizon, we decided that we would try to wait as long as possible before making the big purchase of our first washer and dryer. And I'm happy to say that we made it until February.

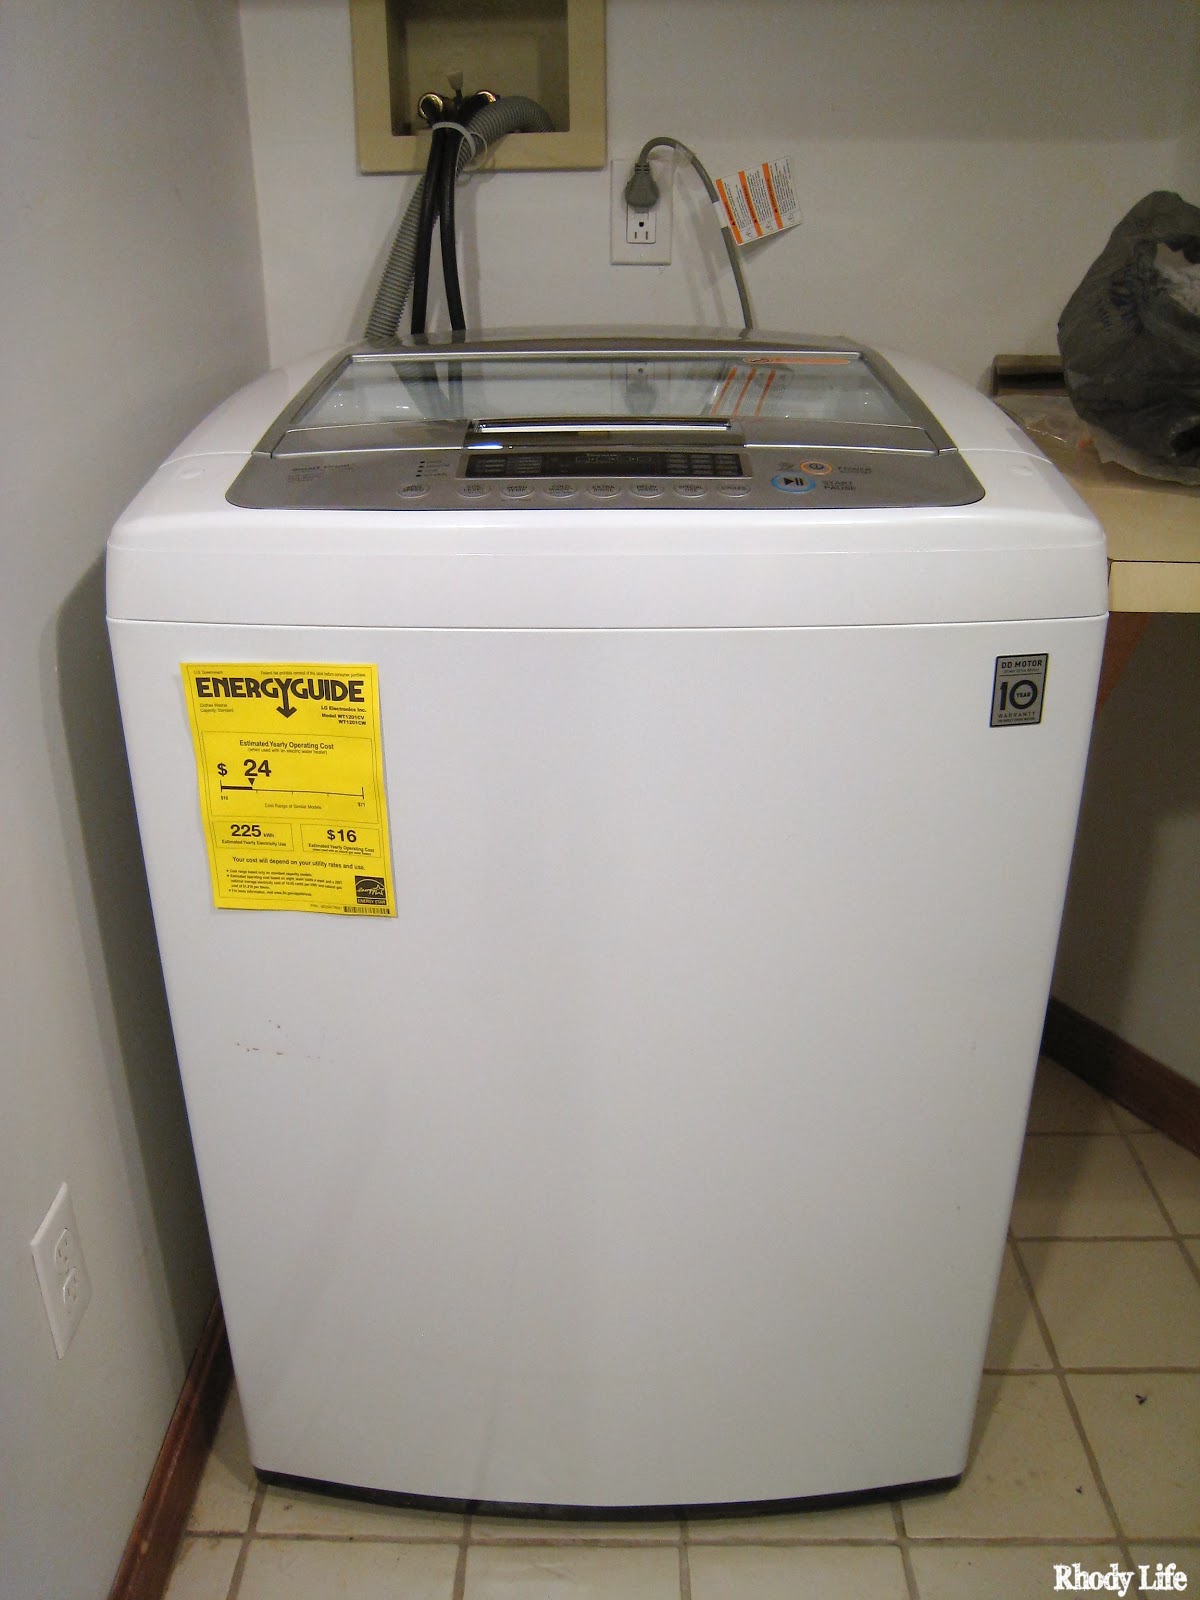
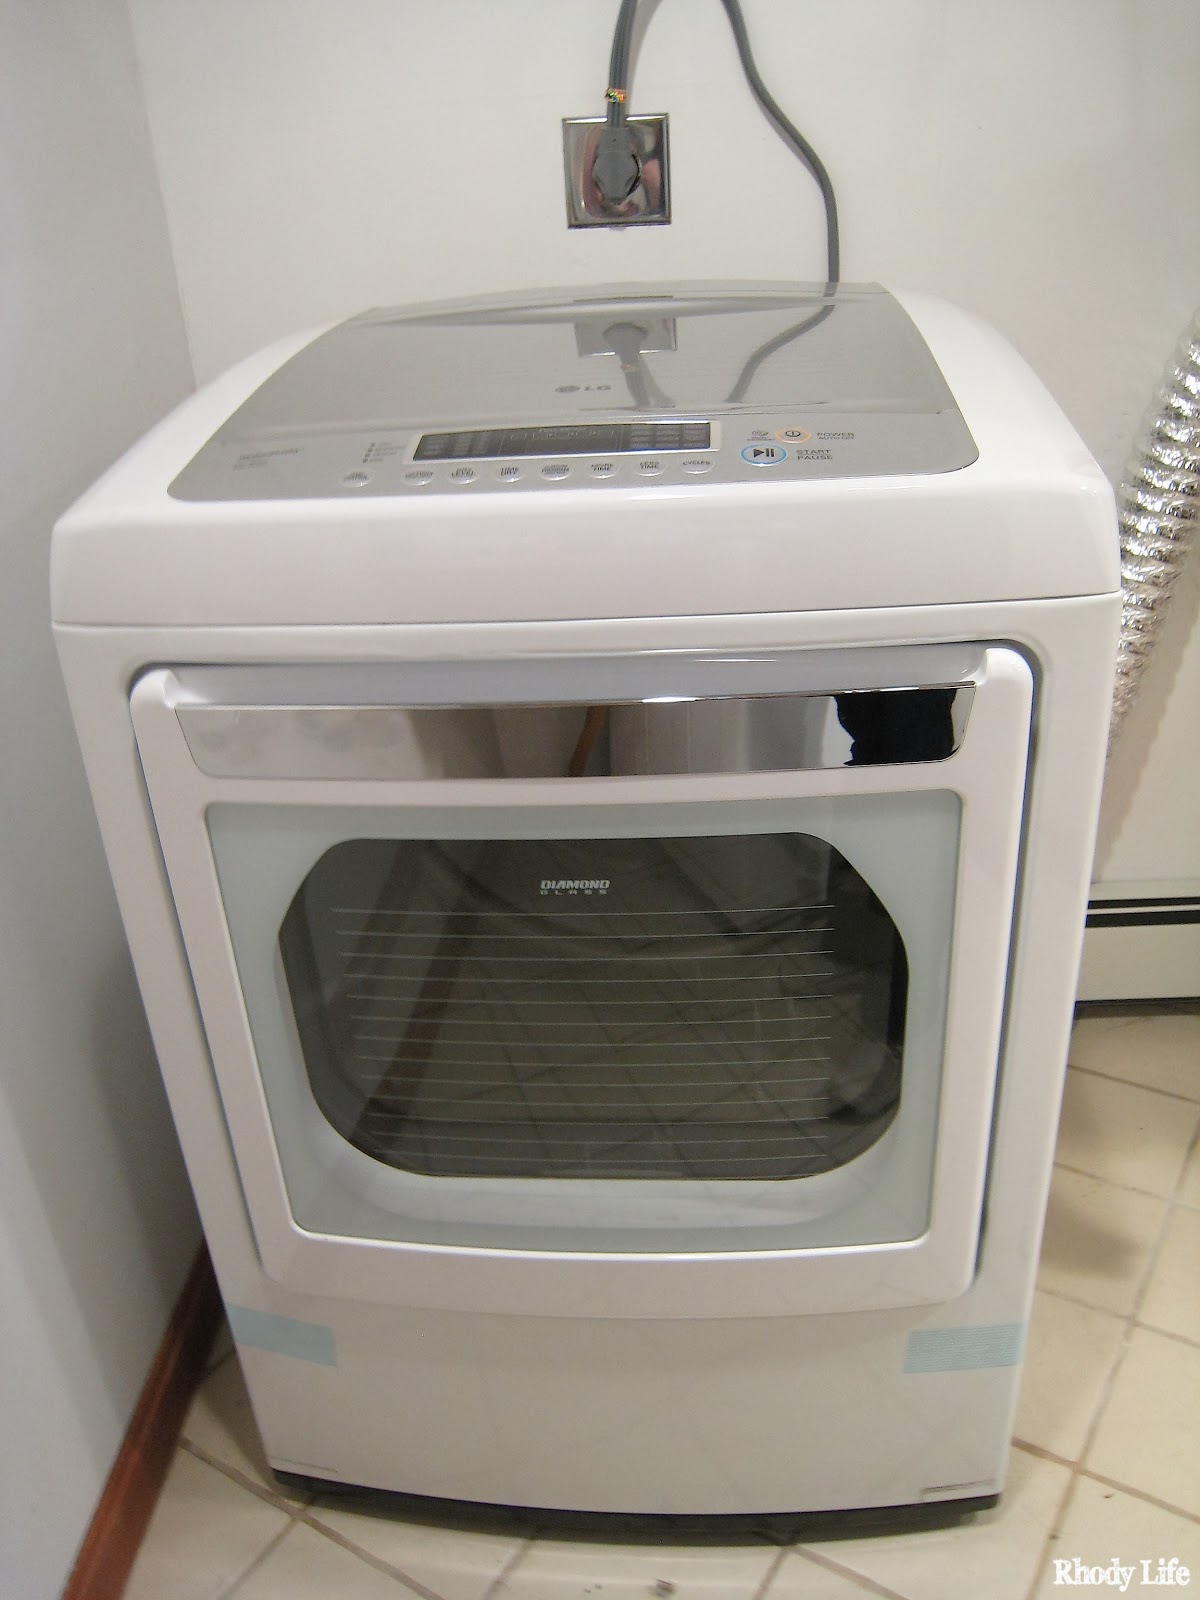
On Saturday, February 1, Dylan and I took a little trip to Sears to finally bite the bullet and buy our first major appliances together - our new washer and dryer. Now, what you need to understand is that this wasn't a sporadic purchase. I had spent hours and hours of time researching what we wanted and what we didn't want in our new appliances.

Like the tech geek within me, I clearly wanted the new set from LG that has a smartphone app that tells you when your laundry is done, but the price tag on that was waaaay more than we wanted to spend. In fact, the price tag on just the washing machine was more than we spent for both the washer and the dryer together! Insane!

In terms of actual features though, here's what we were looking for:
  1. Top-Load Washing Machine
  2. Electric Dryer
  3. Spin-only cycle
  4. Rinse & spin cycle
  5. Timed Dry
  6. Wrinkle Free cycle
  7. At least 4.2 cu. ft. washer
  8. High Efficiency
  9. Energy Savings
  10. Cold-water friendly
The first thing may come to you as a surprise, but yes, I actually wanted a top-loading washer. I have had nothing but bad experiences with front loaders. Yes, they are typically a lot larger than top-loaders, but the rubber barrel barriers constantly have mildew and mold issues, and I've had water draining issues along with clothing getting stuck in the rubber barriers before. And some of you may never have problems with your front-loaders, but considering that there is a pretty serious class action lawsuit against one of the top manufacturers of this style machine, I knew I didn't want to take any chances with this type of washer. Top-loader it was.

So, after probably over 25 hours of research on sets that matched my criteria, I finally found a set. Surprisingly, they aren't making very many top-load washers with agitators now, as the new high-efficiency models use a different technology. The set we chose, made by LG, was one of those without an agitator. Despite some reviews of other models that clothes weren't getting as clean without an agitator, this set was available at a bunch of different stores, and all of the reviews were great across the board. So we went to our local Sears, got the run down from the sales associate just to make sure we were going to be satisfied, and then made our purchase. And for an extra $10, we were able to have it delivered the next day, on a Sunday, meaning I didn't need to take any time off of work for the delivery, and I could get some laundry done that weekend!

LG Washer and Dryer from Sears

The delivery guys arrived at 8:30am on Sunday, and had the washer and dryer in their spots and hooked up in the basement laundry room within a half hour. Perfect! Because it was below freezing outside, they said to wait two hours until you start your first load, that way the machines could acclimate to the indoor temperature. After that, they were ready to go!

LG Washer and Dryer from Sears


LG Washer and Dryer from Sears

And the first day of laundry was a success, as have been all three following that! I am so pleased with our purchase and now I guess I am a little excited to do laundry. The machines play a little tune whenever you turn them on and off, and the buttons are in a perfect location. The washing machine barrel is deep, and gigantic, which means washing two sets of queen sheets and three weeks of towels at the same time isn't an issue at all. There are so many different cycle options,  including the ones on my must-have list, that I don't know if I will ever even use all of them! 

LG Washer and Dryer from Sears
Washing machine controls

LG Washer and Dryer from Sears
Dryer controls

But, who knows - maybe now that I have some beautiful new appliances, laundry will happen more often!

What was the first big appliance purchase you made for your house? What kind of washer and dryer do you have: top-loader or front-loader?

Monday, March 3, 2014

DIY: Goodbye Brass!

One of the things I have hated the most about this house is all of the brass hardware.  Ironically, there isn't any brass in the kitchen, but it's everywhere else.  All of the door handles on all three floors of the house, the hinges, and even the outdoor light fixtures are brass.  Since we're literally painting the entire house, I figured what's a little paint on the hardware in addition to the paint on the walls. Replacing door hardware for over 15 doors is quite costly, so as a placeholder, I decided to paint the hardware a brushed nickel color, just like I did to the front door hardware.  

Since I was already removing all of the hardware from the downstairs doors to put a fresh coat of white paint on them, I figured this would be the perfect time to refinish the hardware.  

Painting Brass Hardware

You'll notice in the picture above that the pieces have labels on them.  Some of the doors were cut to fit in the frames, and the hinges were altered too, so I made sure to label the back sides of the hinges as to where they belonged. To distinguish between them, I made sure to mark top and bottoms, as well as frame and door, that way I knew exactly where each piece went and I could match everything back up perfectly later.  Although you can't see them from the pictures, I labeled the insides of the door handles and the inside of the door latches too, that way I had the matching pieces and everything was working after I reassembled everything.  

Painting Brass Hardware

I'm pretty sure that the hardware hadn't been cleaned or even wiped down in years, so after I had everything taken off, I gave all the hinges, door pins, and door plates a much need bath to get all of the grease and paint off them.  I ended up needing a razor blade to remove some of the paint, but I wasn't too worried about scratching the metal since I would be sanding them down before painting them.  

Painting Brass Hardware

I let them sit to dry for a while so I could make sure that there wasn't any water left in the hinge tracks. If you are pressed for time, you could tightly roll a sheet of paper towel and slide it inside to dry it out, but if you just leave them out to dry, evaporation will do the work for you!

I used medium-grit sandpaper to roughen up the surfaces. You will likely only need to sand one side and the hinge tracks, since the back side of your hinges will be flush against either your door or your frame. Don't forget to wipe down your pieces one last time before applying your spray paint, as you don't want any sandpaper particles or dust on the surface.  Lay out your pieces in a well-vented area and begin spraying.  

Painting Brass Hardware

Don't expect to get great coverage on the first spray. You'll need multiple coats to get an even coverage, but allow for some time between coats before applying the next.  

Painting Brass Hardware

You'll also want to flip over your pieces after the first side has dried to apply some additional coats to the backside. While you don't necessarily need to cover the part that you don't need painted, I decided to put a strip of painter's tape over the back of my hinges since I had my labels on there and didn't want to accidentally paint over them.  

Painting Brass Hardware

Painting your door handles is almost exactly the same as the door hinges.  You'll want to roughen up the surface with some sandpaper and then apply a bunch of different coats of spray paint. You may need to flip your handles onto the sides or even hold them at different angles when painting them, depending on the shape and size, and where you need coverage.  You can also tell in one of the pictures below that I was able to get creative and used the side of a cardboard box to prop one side of the door handles up so they could dry without putting a mark in the spray paint.


Painting Brass Hardware


Painting Brass Hardware

The biggest difference in painting your handles versus painting the hinges and door plates is that the handles have moving mechanisms.  To make sure that you don't paint your handles stuck, make sure to twist the knob or pull down the levers before you apply each coat of spray paint. If your door hardware has a locking mechanism, also make sure to twist the locking mechanism to make sure that doesn't get painted closed or open.  And lastly, if you are painting the door latch (the part that keeps the door closed in the frame), don't forget to push down on that a few times before each coat too. After all, the point of having a door latch is so that it keeps the door closed, so if it can't be pushed in, it's kind of counter intuitive.   

Painting Brass Hardware

Give your pieces at least 24 hours to dry after you have applied your last coat, and then you can attach everything back together.  This was the most exciting part for me. After having had our doors off the hinges for almost two weeks, we finally put them back up, and not only did they have a beautiful coat of new white paint on them, but then they also got this hardware makeover!

Painting Brass Hardware

Once your hardware is attached, you can choose to go back and dab some spray paint on the screw heads and the door pins, since painting them before will just get them scratched up during installation.  This solution isn't perfect, as you can tell in some spots, but I don't think that many people will notice unless I specifically tell them to look at the door hardware. This is really only a temporary fix, too. Down the line, we will replace the door hardware altogether, but for right now, we want our money to be spent on some other things, and this quick $5 fix is a perfect way to hide that brass and make this house look just a little more modern and contemporary!

The only brass left is on the outdoor light fixtures! So exciting! Have you spray painted your hardware? 
Related Posts Plugin for WordPress, Blogger...
Pin It button on image hover